1212 M-Core Cartridge 2 Series: 4 Port Valve
Preparation:
|
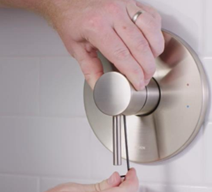
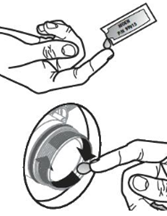
Handle Removal:
Using a 3/32" Hex Wrench, loosen the Handle Screw until you can remove the Handle. |
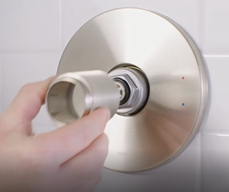
Slide the Sleeve off of the assembly. |
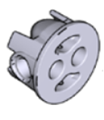
Parts Legend |
In 2024 the 1212 cartridge was changed, the white Installation Sleeve is no longer required. Parts 3 and 4 that were originally black are now off-white.
|
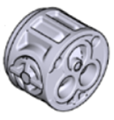
5 Valve Body |
4 Adapter with Check Valves |
3 Pressure Balancing Puck |
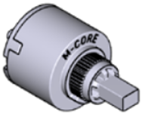
2 Cartridge |
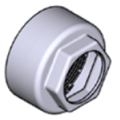
1 Cartridge Nut |
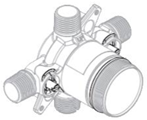
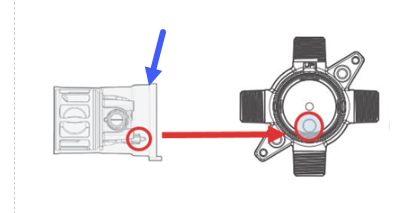
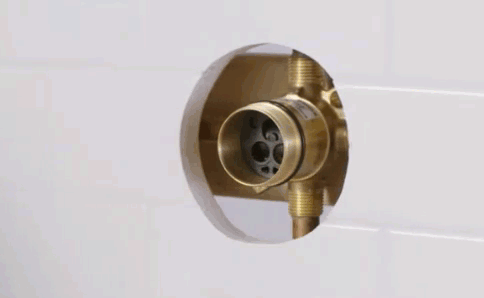
Cartridge Removal and Valve Body Preparation |
|
Unthread and remove the Cartridge Nut (1). Pull the gray Cartridge (2) out. |
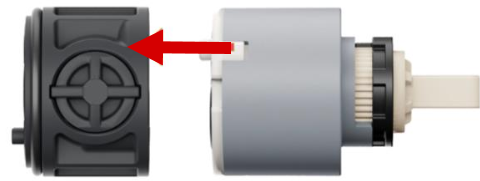
Using Needle-Nose pliers, remove the Pressure Balancing Puck (3), O-Ring and Adapter (4). |
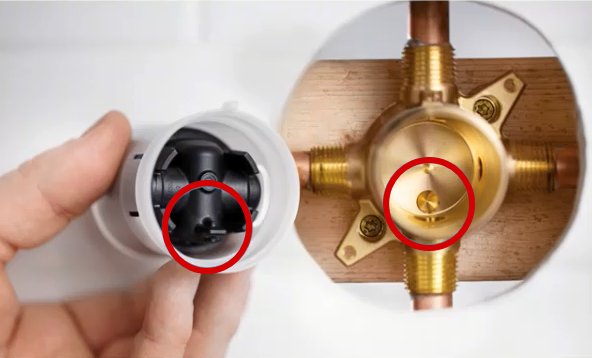
Grease the Outer O-Ring and inside of Valve Body (5). Note: If you notice residue inside the Valve Body (5), see article Valve Body Cleaning and Flushing. |

4 Port Shower Only Valve - For 3 Port Shower Only Valve, Click Here |
|
|

To View Complete Installation Video: |
Click, M-CORE 1212 Cartridge Replacement.
For additional information on M-Core Shower products, visit Single Handle Shower: M-Core at Solutions.moen.com.
Still Not Finding What You're Looking For?
Contact Us or Call 1-800-BUY-MOEN
Non US? Moen Canada | Other International Sites