Connect Smart Faucet to Moen Smart Water app
This article includes detailed information on the Smart Faucet, also known as the U by Moen Smart Kitchen Faucet. It also refers to the Moen Smart Water app, also known as the Moen app or the Moen Smart Water Network app.
The following instructions are for connecting your Smart Faucet in the Moen Smart Water app.
Requirements
- 2.4GHz WiFi network
How to Connect Smart Faucet
- If you are setting up this device for the first time, you will need the Moen Smart Water app. To download the Moen Smart Water app, visit the Apple App Store or Google Play Store from your smartphone and search for "Moen Smart Water".
- After the Moen Smart Water app is installed, open the Moen Smart Water app and create an account.
To start adding a device in the Moen Smart Water Network app, tap on "+", tap "Add a Device", and then select Moen Smart Faucet.
Step 1 - Register your device
Follow the on-screen instructions for registering your Smart Faucet. Scan the QR code on the control box and fill out the requested fields to register your Moen Smart Faucet.
Once your Smart Faucet is registered, name your device under "Device Nickname" field and then tap the arrow to go to the next screen.
Step 2 - Install your device
If you select "Step 2 Install your device", the app will walk you through installing your Smart Faucet step-by-step. If the Smart Faucet is already installed, select "Skip step".
Step 3 - Set-up your network connection
Select Step 3 - Set-up your network connection.
Prepare Your Faucet
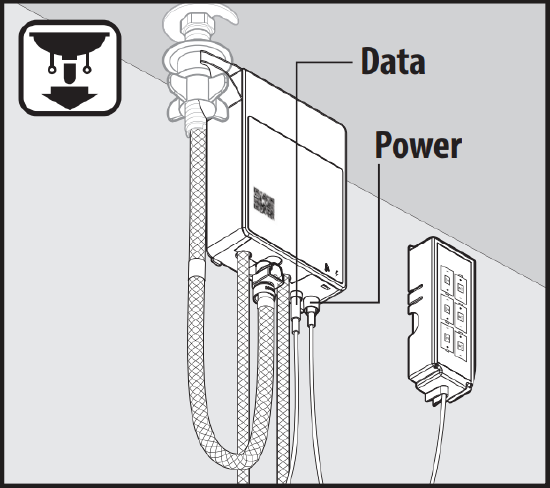
If this is a new installation, connect the control box under your sink to a power source. After a few seconds, the LED on the faucet should blink amber/blue. This indicates the faucet is ready to be configured.
If the LED is not blinking, try unplugging power, reconnecting it, and trying again. If this does not work, you may need to reset the device.

Connect to Wi-Fi
Go to your phone's Wi-Fi settings and look for a network similar to Moen-Faucet-59623 where the numbers match part of your serial number. Connect to that network and return to the Moen Smart Water app.
|
|
When you go back to the Moen Smart Water app, you will automatically be directed to the "Choose Home Wi-Fi" page.
Choose Home Wi-Fi
Select your 2.4 GHz home Wi-Fi network and then select the next arrow.
Enter Your Wi-Fi Password
Enter your Wi-Fi password and then select the next arrow.
Wait For Connection
The Smart Faucet is trying to connect to your Wi-Fi network. Please watch the Smart Faucet and do not touch the handle or sensor during this time. The LED will blink an amber/yellow color while it is trying to connect. This may take a few minutes.
Watch for the LED to change and select "Green Light" once the LED turns green.
Fine Tune Your Device
Your Smart Faucet is going to update your firmware and perform some tests to fine tune your device. This includes automatically turning on your faucet on and off and running hot and cold water.
Please do not touch the water during the test as it may get extremely hot!
To begin, select, "Start Fine Tuning". Once completed, you will see check marks next to all tasks and be able to continue to the next screen by tapping "Done" at the bottom of the screen.
Step 4 - Connect to your smart home
- Select Step 4 - Connect to your smart home. If you have already connected to your smart home or would like to set this up at a later time, you can select "Skip Step".
For Amazon Alexa instructions: Enable Moen Alexa Skill
For Google Assistant instructions: Add Smart Faucet to Google Assistant
- Select which smart home system you would like to enable voice control for.
- Log in with your Smart Smart Water Network account.
- Tap "Finish" to complete the set up.
